
When I first started my WordPress website, I was excited to see some visitors coming in. So for collecting leads and getting user data I installed WP forms which are used by over 6 million websites.
But as time went on, I found myself scratching my head, wondering why the contact forms weren’t converting as I’d hoped.
I couldn’t figure out which forms were actually driving leads? And how are users really interacting with them?
If you’re also going through a similar situation, trust me, you’re not alone in this.
As a website owner and Marketer, I have learned that if you want to optimize your site’s performance and boost conversions, you need to understand how users interact with your forms.
That’s why I wanted to share with you what I have learned about Form tracking. I’m going to walk you through the process of tracking WP Form submissions using Google Tag Manager (GTM) and Google Analytics 4 (GA4).
I’ve been using this method myself. And by the end of this post, you’ll have the same crystal-clear view of your form performance and user behavior.
So, let’s dive in!
Why Track WP Form Submissions?
Imagine you’ve launched a brand new landing page with a carefully crafted contact form. Traffic is rolling in, but you’re in the dark about how many visitors are actually filling out the form. Frustrating, right?
By tracking form submissions, you can:
- Measure conversion rates
- Identify which forms are generating most leads
- Understand user behavior and optimize your forms for better performance
- Make data-driven decisions to boost your lead generation efforts
Before we begin, make sure you have:
- A WordPress website
- WP Forms plugin installed and active
- Google Tag Manager account set up
- Google Analytics 4 property created
If you’re not quite there yet, don’t worry! Check out my beginner-friendly guide on setting up Google Analytics 4 with Google Tag Manager on WordPress
Push a Custom Event to the Data Layer
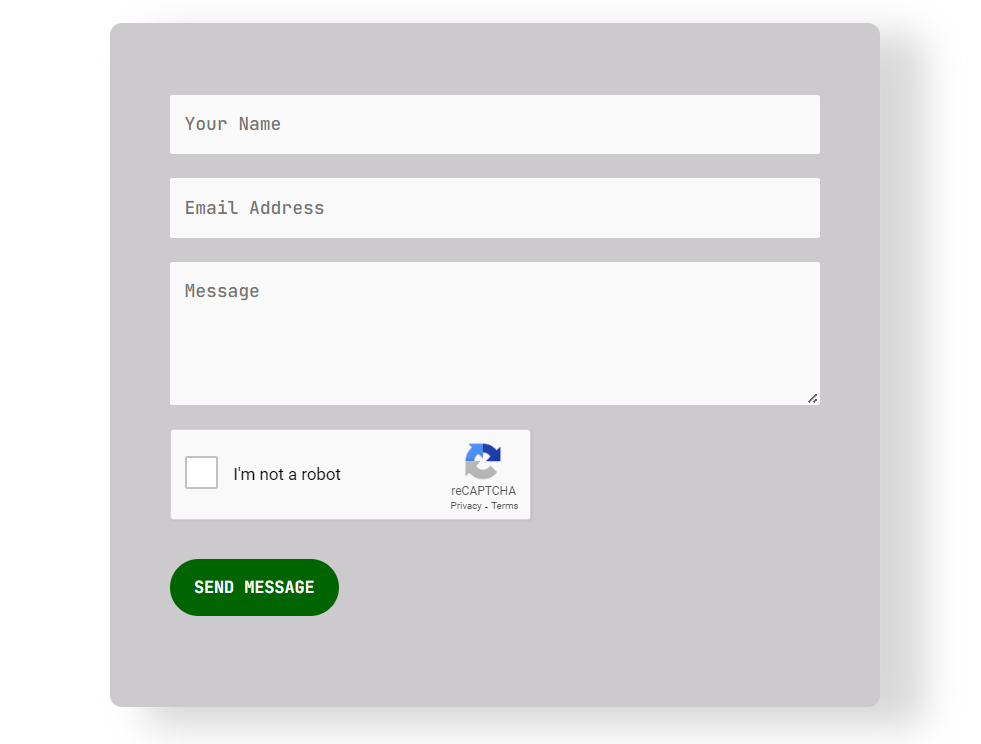
Below, you can see a Contact form. I created it using the WP Forms plugin.
So, what we are going to do is we will use a bit of JavaScript code to tell Google Tag Manager when a form is submitted. Don’t worry if you’re not a coding guru – I’ll walk you through it step by step!
We’ll push a custom event to the data layer when the form is submitted. Then, we’ll define this event as a custom event in Google Tag Manager, create a trigger, and fire our GA4 event tag.
So what we want is, after the WP form is submitted, we want to push a custom event to the data layer using an event listener.
For this you have to use the below Event Listener code.
Follow along and I will show you how….
<script>
//This code notifies Google Tag Manager when a form is submitted

document.addEventListener("DOMContentLoaded",function() {
var elementsArray = document.querySelectorAll('[id^="wpforms-form-"]');
elementsArray.forEach(function(elem) {
elem.addEventListener("submit",function(e) {
window.dataLayer = window.dataLayer || [];
window.dataLayer.push({
event: "wpFormSubmit",
wpFormElement: event.target
});
});
});
});

</script>
This code captures WP Form submissions and displays them as events in Google Tag Manager.
This snippet is like a vigilant guard, always on the lookout for form submissions. When it spots one, it sends a signal (or “pushes an event”) to the data layer, which Google Tag Manager can then pick up.
Since this is not a predefined event, we’ll create a custom event using the event listener.
You have two options:
- Add this code as custom HTML in GTM.
- Add this code directly to your website.
I’ll cover both methods so you can choose whichever works best for you.
1. Add Event Listener Code as Custom HTML in GTM (Recommended for Non-Developers)
- Go to GTM > Tags
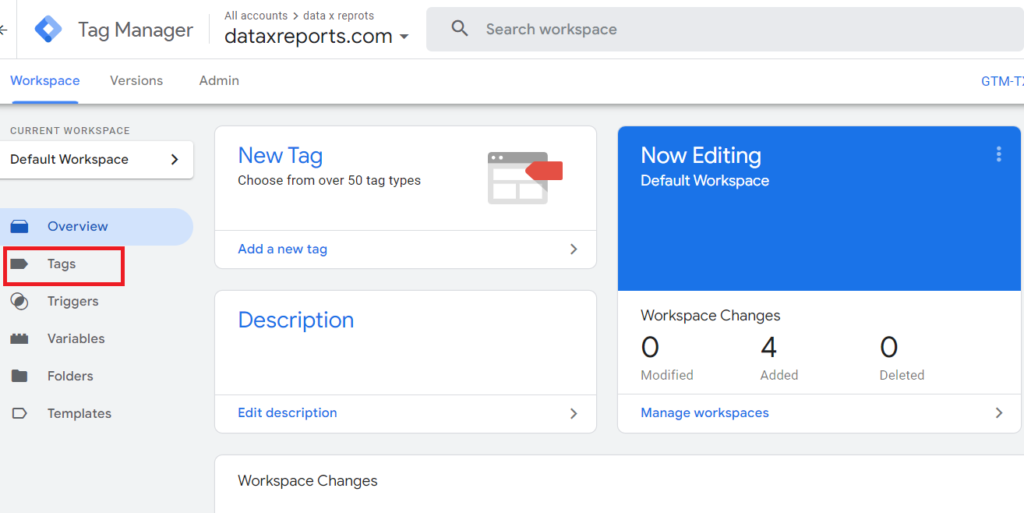
- Create a new tag and name it something like `CHTML_WPForms`. CHTML is short for Custom HTML.
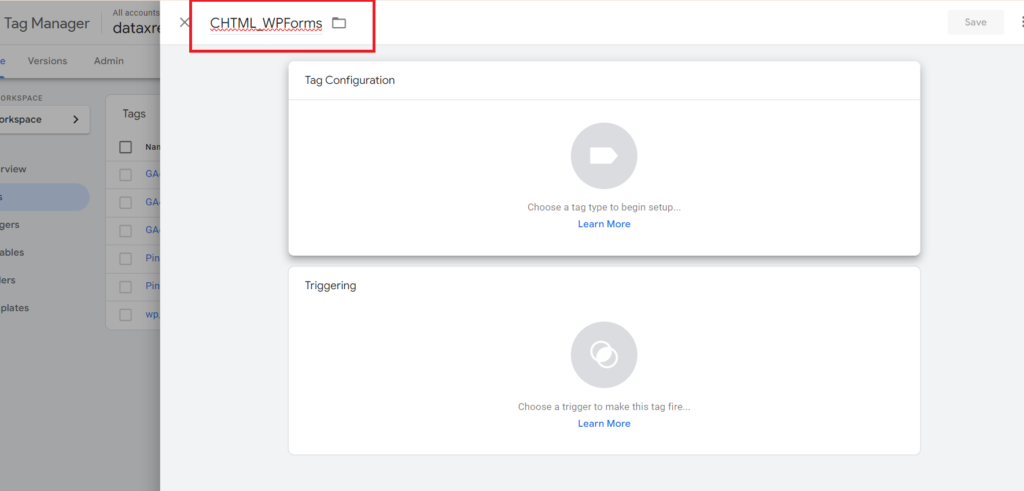
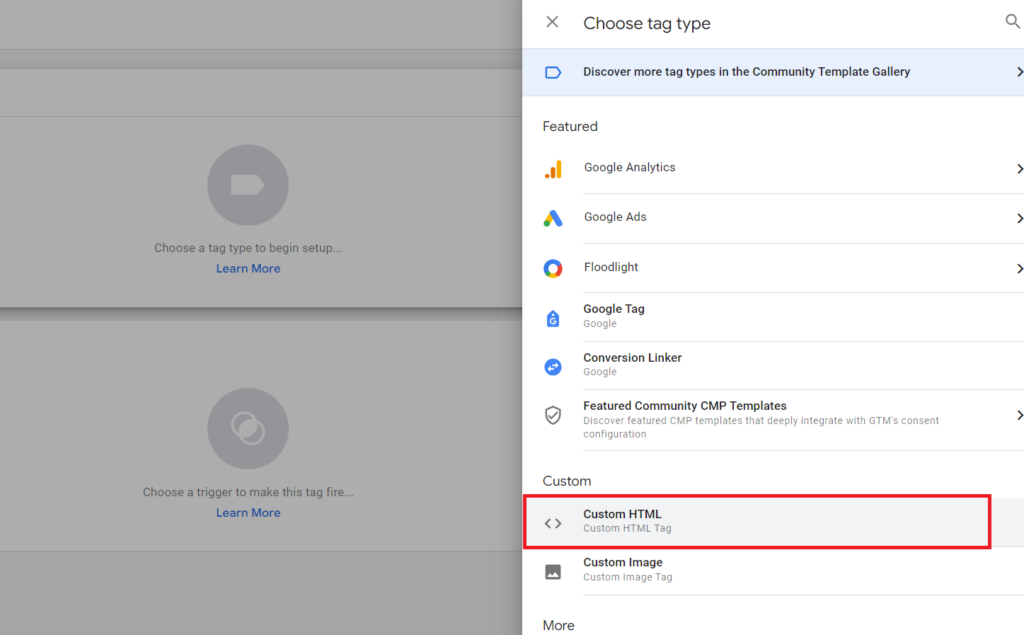
- In Tag Configuration, select Custom HTML and paste the event listener code into the HTML box.
- Choose triggers for all pages. This ensures that if WPForms is filled out on any page, it will appear as a custom event in the preview and debug mode.

- The above method is to add the Event Listener code on your website using Google Tag Manager. You can also add the code directly on your wordpress website using the 2nd method.
2. Add Event Listener Code Directly to Your Website
- Go to your WordPress website.
- Navigate to Appearance > Theme File Editor

- In Theme File Editor, go to header.php. Paste the Event Listener code just before the closing `</head>` tag.
- Update the file.
Now that we’ve set up our tracking, let’s make sure it’s working:

Verify the Event in GTM
- Go to Google Tag Manager.
- Click on Preview.
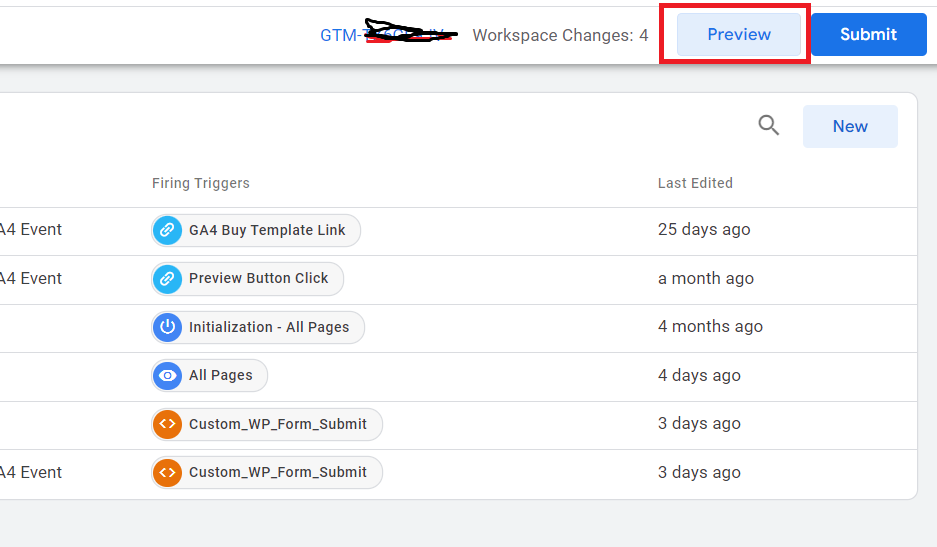
- Enter your contact form URL, and click Connect.

- Your contact form will appear. Enter dummy details and submit the form.
- On the bottom right side you will see Tag Assistant Connected tab. This verifies that Tag Assistant is connected with your website.
- Make sure that you see the Tag Assistant connected message. Or Event will not be captured in preview and debug mode.

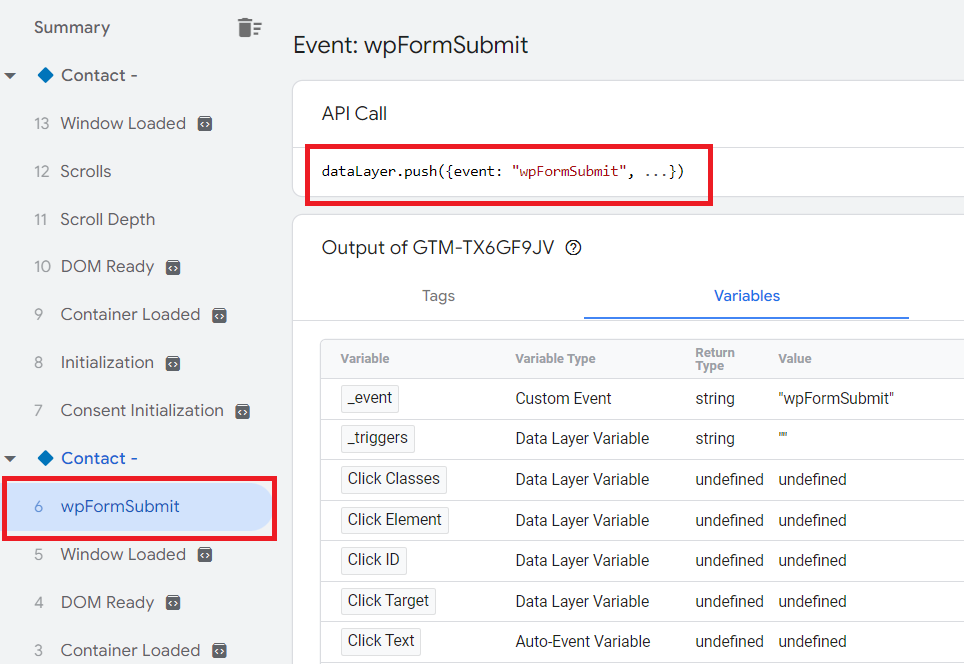
- After filling the form go to Tag Assistant Manager and check if the custom event appears in the data layer.
- You should see an event called `wpFormSubmit` in the preview and debug mode.
- Under the API, you’ll see `datalayer.push({event: “wpFormSubmit”, …})`.
- This confirms that your Event Listener code is installed properly.
- A box will appear on the right where you can input the tag details. Start by naming your tag, such as ‘Google Tag – GA4.’ Click on the ‘Tag Configuration’ box and choose ‘Google Analytics‘ from the featured tag types. Then, select “Google Tag.“
- You will now encounter a field for the ‘Tag ID.’ Here, enter your GA4 Measurement ID.
Set Up the GA4 Event Tag in GTM
So we have successfully installed the Event Listener code on our website. This Event Listener code will help us track the WP form submission in Google Analytics 4.
Now we are going to setup an Event for Google Analytics 4 using Google Tag Manager. This event will be used for WP Form Submissions.
So anywhere in your website if you have WP form active, this Event will capture whenever it gets filled.
Let’s start…
1. Create a trigger in GTM
- On Google Tag Manager. Click on Trigger > Add New.
- Give a name to your Trigger like `WP_Form_Submit`.

- Click on Trigger Configuration.
- Under Trigger Type, Select Custom Event.

- Enter `wpFormSubmit` under Event Name and Save it.
- wpFormSubmit is the event name we are capturing through our Event Listener Code, whenever there is a WP Form Submission.

2. Create a tag
- After creating the Trigger, we will create a Tag.
- Go to Tags > New. Give a name to your Tag like `WP_Form_Submit_Tag`.
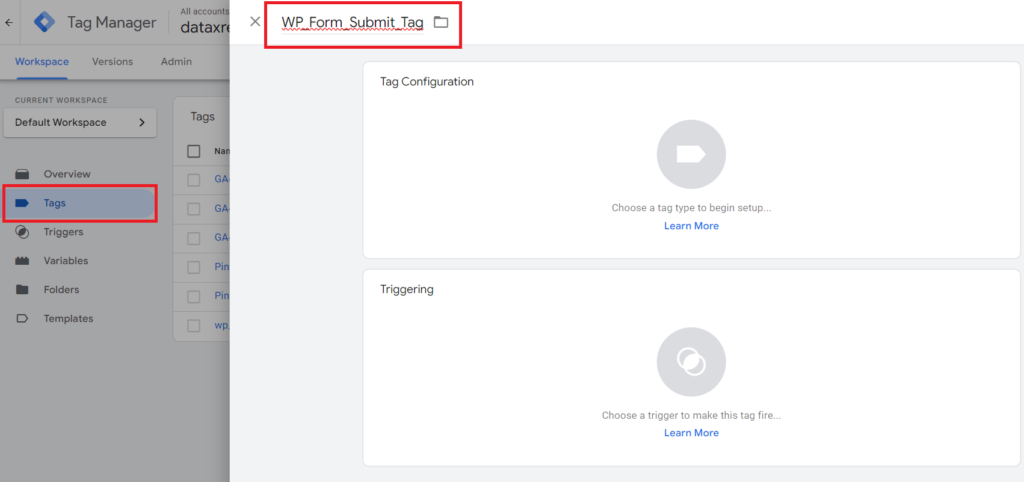
Under Tag Configuration, select Google Analytics: GA4 Event.

- Enter your Measurement ID.
- Give a name to your event like “wp_form_submit” to identify it as a WPForms submission event. This event will appear on your Google Analytics 4 event tab.

- Scroll below and click on Trigger.
- Select the Trigger we created earlier, and save the tag.

Test and Verify the tag
1. Verify in Google Tag Manager
- Go to preview and debug mode in GTM.
- Fill out the contact form to trigger the event.
- In the preview and debug mode, check that the `wpFormSubmit` event. If you see it under tags as a GA4 Event, it means your tag fired correctly.

2. Verify in GA4
- Go to Admin > DebugView.

- Look for the `wp_form_submit` event. If it does not appear, wait for it sometimes because GA4 DebugView takes time to show events.
- If the wp_form_submit event appears, it means GA4 is capturing the event successfully.

Congratulations! You’ve just leveled up your WordPress site by implementing advanced form tracking. By following this guide, you’ve gained insights into user behavior that will help you optimize your forms and boost conversions.
Need a Helping Hand?
While this guide provides a solid foundation for tracking WP Form submissions, we understand that every website is unique.
Some businesses may face complex tracking requirements or simply lack the time to implement these solutions themselves.
If you find yourself needing expert assistance with Google Tag Manager setup, custom tracking solutions, or advanced GA4 configurations, don’t hesitate to reach out.
As a GTM specialist, I am here to help you unlock the full potential of your website’s data.
From initial setup to ongoing optimization, I will help you make data-driven decisions that drive real business results.
Extra TipS
Now that you’re tracking form submissions, here are some ways to put that data to work:
- Create a custom report in GA4 to monitor form submission trends
- Set up goals in GA4 to track form completions as conversions or Key Events
- Use the data to A/B test different form layouts or copy
- Identify which pages or traffic sources lead to the most form submissions
Conclusion
Tracking WP Forms submissions as events in GA4 provides valuable insights into user behavior and form performance.
By implementing custom event tracking, you streamline the data collection process, making it easier to monitor conversions and optimize your forms. Whether you choose to add the event listener code directly to your site or through GTM, the setup allows for efficient and precise tracking without relying heavily on developers.
Now, you can accurately track and analyze form submissions, improving your understanding of user interactions and enhancing your marketing efforts.