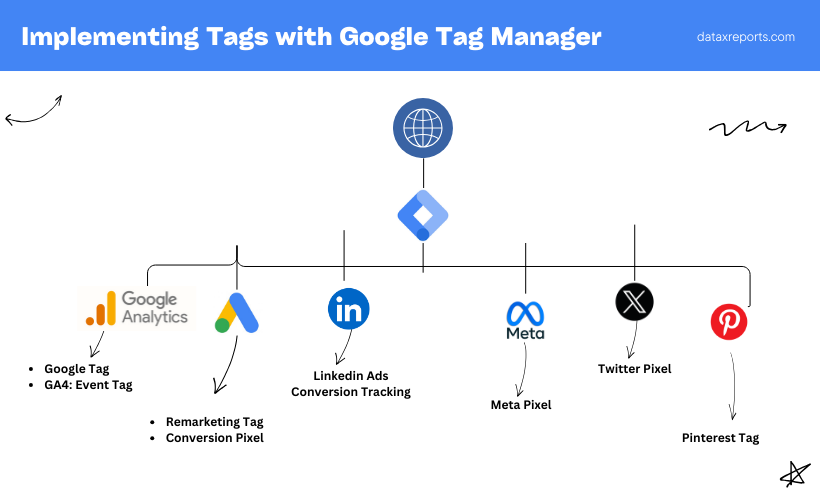
Do you use tracking codes on your website?
Have you heard of Google Tag Manager (GTM)?
In this blog, you’ll learn what Google Tag Manager is and why it’s so useful for managing tags.
Introduction
As a digital marketer, I have seen how challenging it can be to manage multiple tracking codes on a website. To add Google Analytics, Facebook pixel, or conversion tracking, you have to add tracking codes on every page of your website.
And if you’re not familiar with HTML or CSS, you need to hire a developer to install these codes for you.
Even after all this, you have to make sure your tracking codes are working properly and that you haven’t broken your site. With time, this can become chaotic and difficult to manage.
Google Tag Manager simplifies this process.
It allows you to place a single code across all your pages once. Then you can add all different marketing tags inside the Google Tag Manager interface only.
For example, if you want to run Bing Ads, you don’t have to go to each one of your web pages and put the Bing ads tag across all pages. You can set the Bing code inside the tag manager. This streamlines the process and saves you time.
What used to take an hour or more can now be done in a few minutes. This is the power of Google Tag Manager.
What is Google Tag Manager?
Google Tag Manager is a free tool from Google that you can use to manage and deploy marketing tags (snippets of code or tracking pixels) on websites without needing to modify the site code. Think of it as a giant virtual cabinet for all your tracking needs.

Why You Should Use Google Tag Manager?
1: It Simplifies Tag Management
With GTM, you can manage all tags from one interface. No more digging through website code every time you need to add or update a tag.
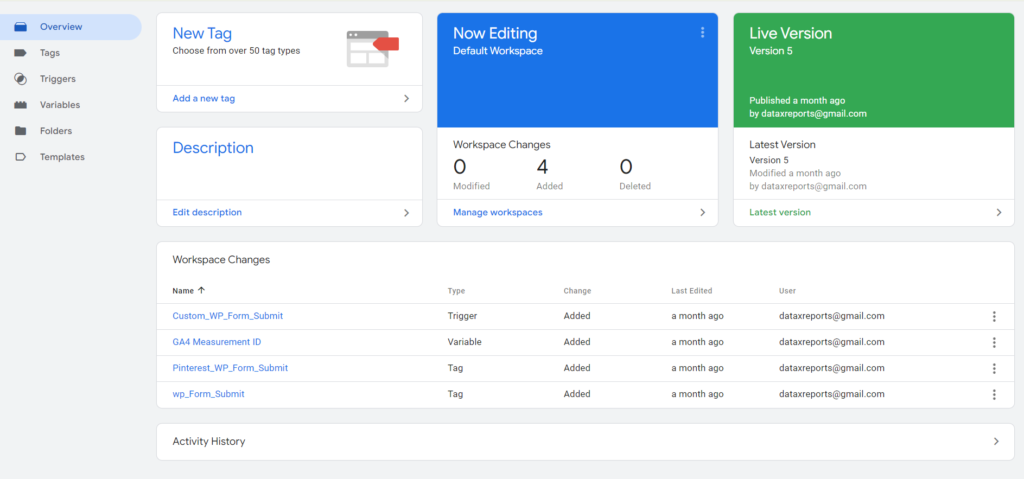
2: You Don't Need to Bother Developers
GTM allows you to implement tags without relying on developers. This speeds up your workflow.

3: Make Fewer Mistakes
The preview and debug mode in GTM lets you test thoroughly before publishing. This can save you from many potential errors.

4: Easily Undo Changes
If you make a mistake, you can quickly revert to a previous version. It’s like having a safety net for your tracking setup.
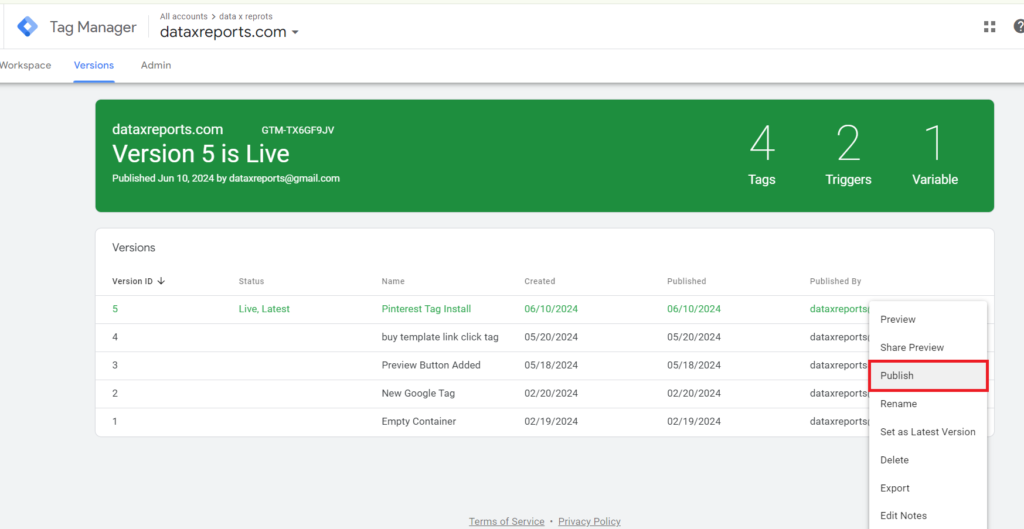
How Google Tag Manager help Marketers
Set Up Google Analytics
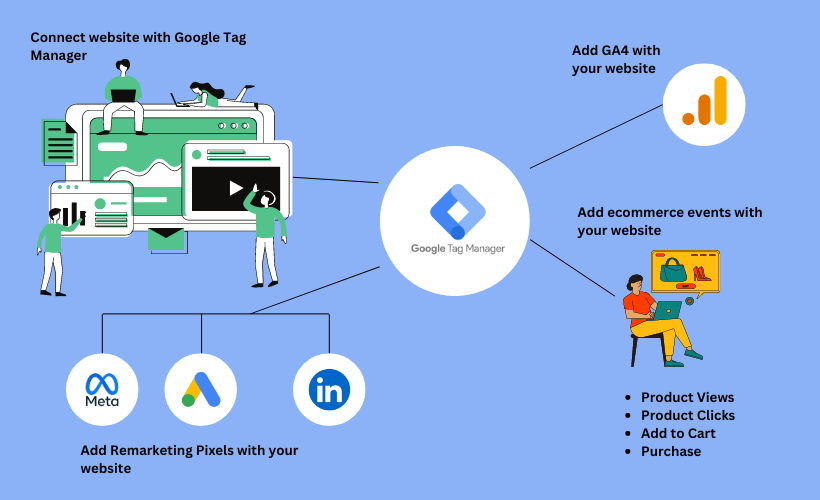
You can setup Google Analytics 4 from Google Tag Manager only. No need to add Google Analytics tag on every page of your website. Implement the code once through GTM and manage it from there.
Implement Remarketing
Similarly you can also add Remarketing pixels from GTM itself. Whether its Google Ads, Meta, or LinkedIn, add their remarketing tag on GTM only and collect audience data on these platforms. It’s quick and doesn’t require touching the website code.
Ecommerce Tracking
You can use GTM to set up enhanced ecommerce tracking. This includes tracking product clicks, add-to-cart actions, and purchases.
Advanced Use Cases and Tracking
GTM isn’t for basic tracking only. It’s also used for advanced data collection and passing that data to Google Analytics.
For example, you can use GTM to track when someone hovers over a video on your website, even if they don’t click on it.
For e-commerce sites or anyone selling products on third-party platforms, GTM can track outbound clicks.
For example, if you sell books on Amazon. But have no control over Amazon’s analytics. You can set up an outbound click tracker with GTM to track clicks from your site to Amazon. By comparing the number of clicks with book sales, you can determine the value of each click on book sales.
How to Get Started with Google Tag Manager
1: Create an Account
First, visit the Google Tag Manager website and set up an account.
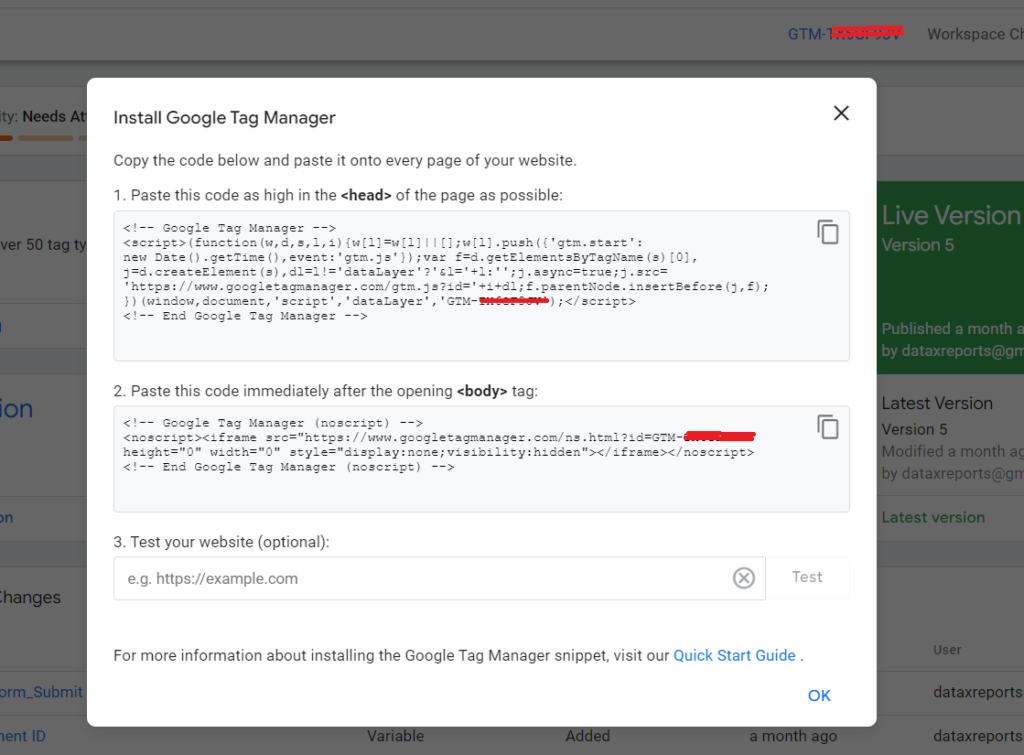
2: Install the GTM Container
Then, add the GTM container code to the website. This is a one-time process.
The method of integrating GTM on your website varies depending on the technology used:
- WordPress: Use plugins or implement on the backend.
- Custom Coded Sites: Have a developer place the GTM code on all pages.
- Other CMS Platforms: Systems like Wix or Squarespace have their own methods for GTM integration.
Note: If you’re using WordPress, I’ve written a detailed guide on How to Set Up Google Analytics 4 with GTM on WordPress. This step-by-step tutorial will walk you through the entire process, making it easy even for beginners.
3: Add Tags
Next, use the GTM interface to add the desired tracking tags.
4: Set Up Triggers
Define when and where the tags should fire.

5: Test and Publish
Finally, use the preview mode to test the setup, then publish when everything looks good.
Best Practices for Using Google Tag Manager
Use Built-in Templates: GTM offers many pre-built tag templates. Use these whenever possible to save time and reduce errors.
Implement a Clear Naming Convention: Organize your tags, triggers, and variables with a consistent naming system. It makes management much easier.
Utilize Folders: For complex setups, use folders to organize tags logically.
Conduct Regular Audits: Periodically review tags to ensure they’re still necessary and functioning correctly.
Why I Recommend Google Tag Manager for Your Business
In my experience, Google Tag Manager is a powerful tool that can significantly improve your website’s data collection and analysis capabilities. It saves time, reduces errors, and provides greater flexibility in your marketing and analytics efforts.
If you’re new to GTM or looking to optimize your setup, remember that I offer professional Google Tag Manager services. Whether you need help with initial setup, complex tracking implementations, or troubleshooting, I’m here to assist. My services include:
– GTM account setup and configuration
– Custom tag implementation
– Data layer setup and management
– GTM training and consultation
I’d be happy to help you maximize the benefits of this powerful tool and take your web analytics to the next level.
I encourage you to explore Google Tag Manager and see how it can enhance your web analytics strategy. If you have any questions or need assistance, please don’t hesitate to reach out.
